Beenest - director guide
Setting up Beenest is easy.
Follow these steps, one after another, and your center is ready to run.
You start on the computer, then set up the tablet, then hand out QR codes and access. From then on, attendance and staffing are recorded on their own.
Updated: 2026-05-27
Welcome
Welcome to Beenest
We are glad to make your daily work at the center lighter.
Are you an operator, not a director? This way:
To the operator guide
The tablet
Where does the tablet come from?
Your operator tells you which option applies to you:
Tablet from Beenest
You get a tablet from us for your entrance, as a check-in terminal on site.
The tablets we ship are an iPad with a 9.7 or 10.2 inch display.
Your own device
Use your own tablet, for example one provided by your operator. We set it up together with you.
It has to be an Apple device: at least an iPad 5 with iPadOS 15.
Both options can be combined with a physical QR/NFC scanner, for an even faster check-in.
This guide walks you through the setup, whichever option you chose.
The system
The Beenest system
The system has four parts:
1. Desktop browser app
For directors and administration on the computer: master data, staff, groups and settings, the central workplace for the daily routine.
2. Check-in tablet
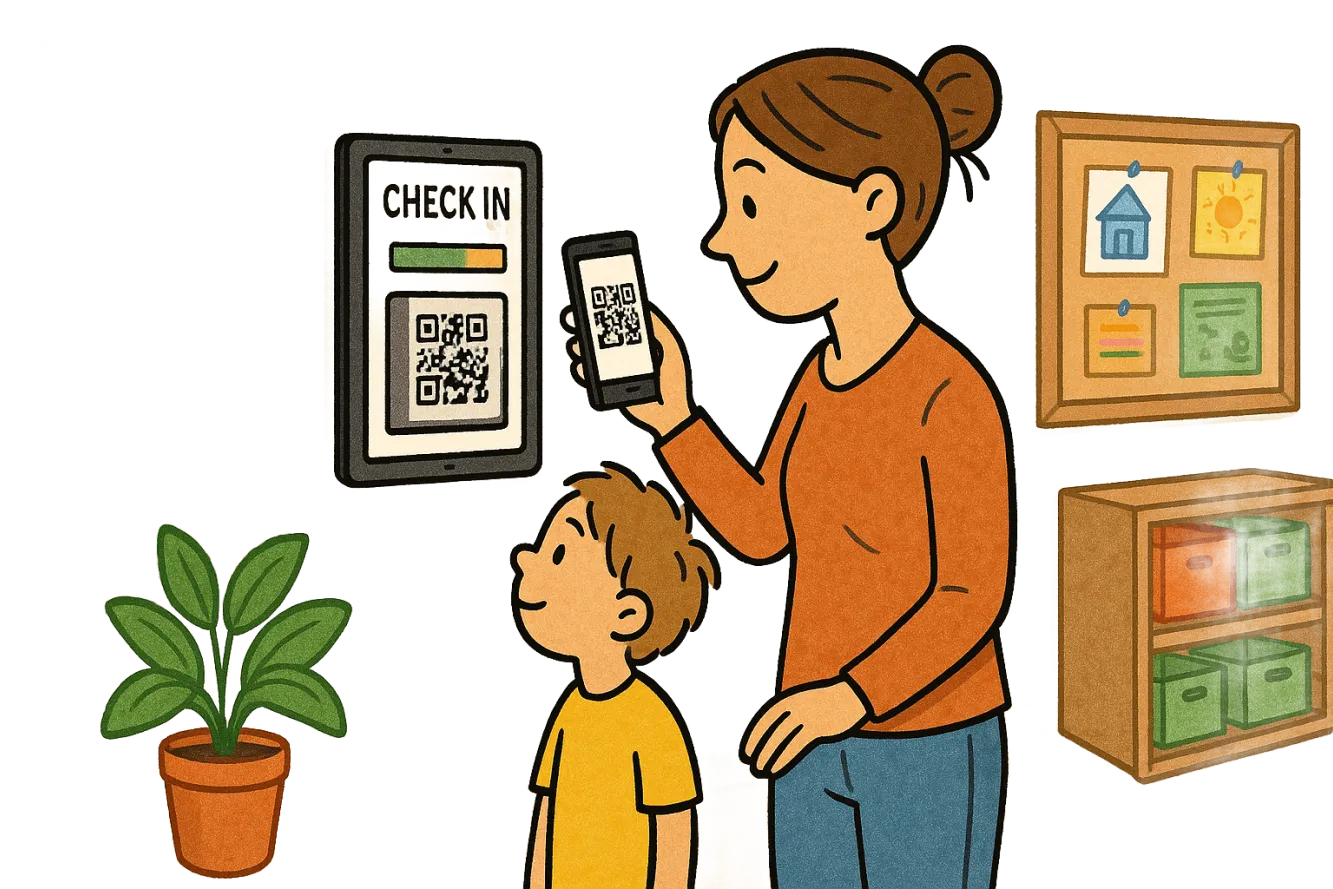
The terminal at the entrance: children, staff and parents check in and out by QR code, and attendance lands live in the system.
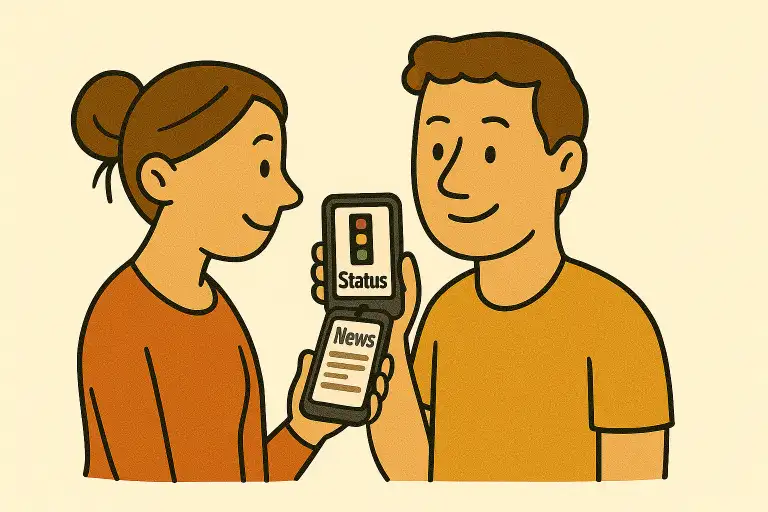
3. Parent app
Optional for families: follow check-ins, report absences, receive messages, as an app (iOS/Android) or the parent web portal.
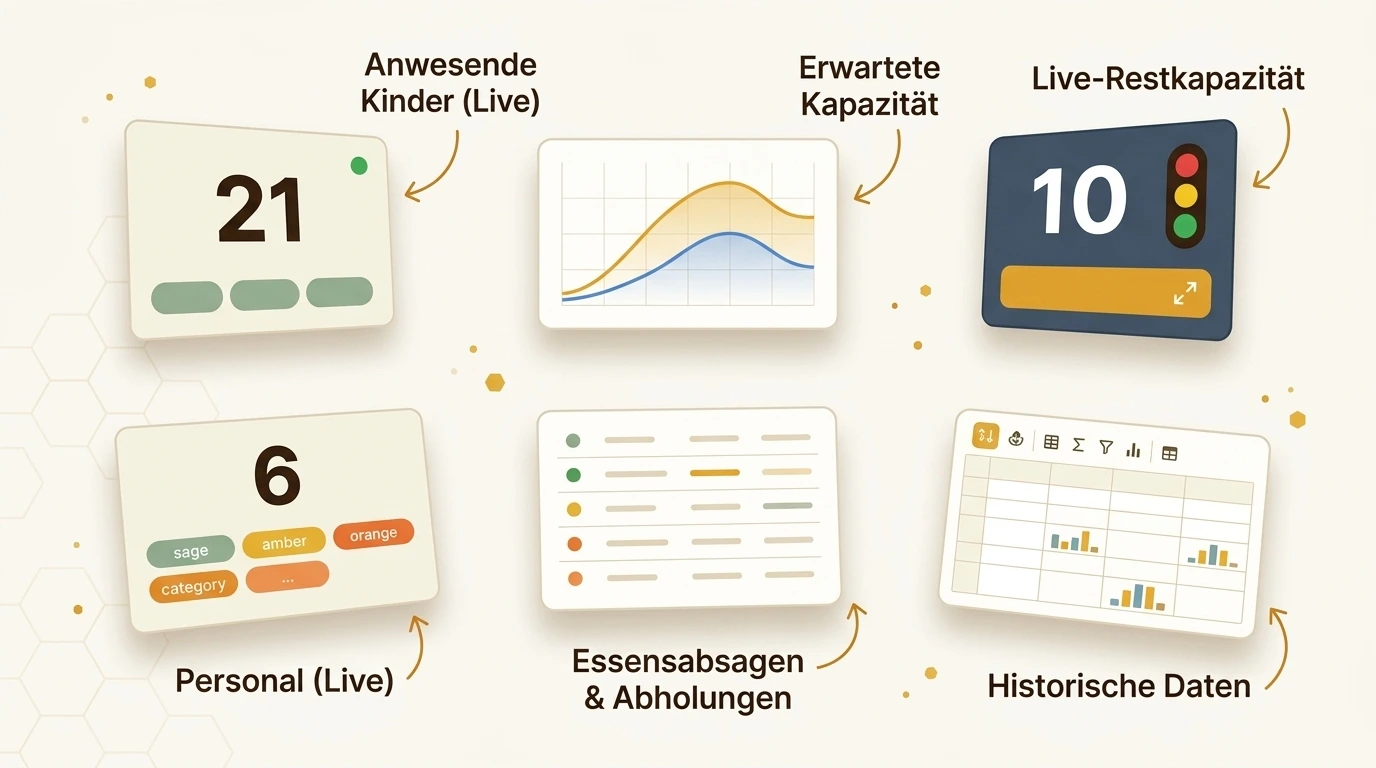
4. Operator dashboard
For operators and administrations: every center in the group at a glance, with reports, comparisons and exports in the browser.
At the tablet
Staff and parents at the tablet
At the check-in tablet, staff and parents are both active, same device, different roles.
- 1Hand out QR codes Parents get their child's code; staff scan their own QR code at the tablet to check in and out.
- 2Scan on arrival and departure Parents hold the child's QR to the tablet and confirm with the on-screen button; staff use the same device and see center data at a glance, or switch the mode.
- 3Check the status Parents see status and messages in the app or online; staff hours are recorded automatically, to the minute.
Overview
Setup overview
Four phases and you are ready:
Set up the software
Add master data, groups and staff on the computer, QR codes are created automatically.
Configure the tablet
Place the check-in terminal at the entrance and connect it to the app.
Hand out QR codes and access
As director, you send out QR codes and parent access, digital or printed.
Documentation
From now on it runs on its own, attendance and staffing are recorded without gaps.
Desktop
We start on the director's computer
in the browser
Step 1: Registration
First sign-in to the software:
Once the email is there:
- Open the email from Beenest
- Click the link
- Set a strong password
No email? Then your operator has not created the center in the portal yet. Guide for operators
General information
Before we start step by step, a few general notes.
On the director's computer, in the browser. You do not need a separate desktop app.
First master data, groups and staff. QR codes are created automatically. The tablet and parent app come after.
Your operator sees the same values. Your password stays with you.
Step 1.1: Enter base data
After signing in:
1. Enter the base data of your center:
- Name
- of the center
- Address
- location of the center
- Region
- select your state's licensing ratios
2. Create 3 lower-level passwords that protect individual areas inside the app:
- Staff area · e.g. "Flower"
- Admin database · e.g. "Sun"
- Parent view · e.g. "Star"
3. More custom fields, as you like:
Optionally add your own fields, for example allergies, emergency contacts or internal notes. Only what you really need.
4. Opening hours:
These times feed into check-in, occupancy and the staff ratio.
Step 1.2: Fill the database
The most involved step: Badge: the most involved step (image with German text, shown here as a placeholder)
Add the following, first the structure, then the people, then everything else under settings:
This is a bit of work once, after that recording runs automatically.
Care models
full day, half day, booking times
Groups
your center's groups
Work models
full-time, part-time, trainee ...
Children
with group and care model
Staff
educators and roles
Settings > Region
review the rest, documentation rules, thresholds and more
Tablet
Now over to the tablet
Step 2: Set up the tablet
Tablet setup in 4 steps:
- 1Mount the tablet: Fix it at the entrance, power and Wi-Fi or LAN (with adapter)
- 2Set up the device and Apple ID: To run the tablet
- 3Install the Beenest app: Download it from the App Store
- 4Sign in to the app: With your access details
Step 2.1: Mount the tablet
Let your operator help youBefore you start, prepare the spot for the check-in tablet:
- Mount portrait at the entrance
- Easy to reach for adults
- Out of children's reach
- Permanent power and internet (Wi-Fi or LAN with adapter)
Step 2.2: Apple first setup
Start and set up the tablet:
For the setup the iPad has to be connected to Wi-Fi. The tablet is a new device. To use it and load our app from the App Store, you need to create an Apple account, or use an existing one your center already has.
Apple's guide: set up your iPhone or iPadA small note: Many directors find this step a little confusing, that is completely normal. It is only about the Apple first setup, not about Beenest: Apple requires an Apple ID so you can load apps from the App Store.
Switch the tablet on, choose Wi-Fi, create an Apple ID (or use an existing one), done. If you have done this on an iPhone or iPad before, you know the flow. Otherwise, feel free to get help.
During setup you may have to enter an email and phone number. That step is not under our control, after that it continues in step 2.3 with the Beenest app.
Display settings
Best tablet settings:
Settings > Display and Brightness
So the screen stays easy to read even in a bright entrance.
Stops the display from dimming itself, the terminal stays clearly visible.
The tablet stays on and ready, no one has to wake it first.
Step 2.3: Install the app
Download the Beenest app, on the tablet, from the App Store:

Search the App Store for:
Beenest Kiosk
App store QR code (the original links a German store listing, shown here as a placeholder). Search the store for the Beenest Kiosk app instead.
Step 2.4: Sign in to the app
- 1Open the Beenest app on the tablet
- 2Sign in with your access details, the same as for the browser app on the computer
Done, the tablet becomes your check-in terminal.
Staff check-in by QR code
Your staff can now check in and out at the tablet by QR code too, just like the children.
- 1Staff scan their own QR code at the tablet, check in and out just like the children.
- 2Want to see the current occupancy before check-in? Switch the menu with the top button, enter the educator initials, then navigate back to check-in.
Physical scanner (optional)
If you have a scanner:
- 1Connect the scanner with a dongle adapter: Allows power and USB at the same time
- 2Place the scanner freely: Stick or mount it as you like
If there are problems: check the setting in the dashboard.
Good to know
The app does its job reliably, often all day. Very rarely it can still freeze. If it does, check in order:
- 1Check the internet connection: Is the tablet connected to Wi-Fi and does it have internet access?
- 2Close and restart the app: Close the app completely, also remove it from the background, and open it again.
- 3Restart the tablet: Hold the power and home buttons (or the volume and power buttons) until the Apple logo appears.
- 4Last resort: browser fallback: Install Firefox or Chrome, open Beenest in the browser, sign in and tap Terminal, it then runs in the browser on the tablet.
Administration
Step 3: Admin tasks
Important admin steps:
- 1
- 2
Confirm settings with your operator
Under Settings > Region, review and confirm the applied settings together with your operator.
- 3
Inform parents
Send the transparency information, see the "Staff and parents at the tablet" section.
- 4
Hand out QR codes
Digital or laminated
- 5
Share the parent portal
Send link and password
Parent app: now or later?
Now or later: decide whether to offer parents the Beenest parent app.
Read the pros and cons of the parent appWhat parents can do with the app
- Use the child's digital QR code, also in the wallet
- Check the child in and out
- Cancel a meal
- Report an earlier pickup
- See check-ins and arrival and pickup times live
- Receive messages and push notifications from the center
iOS and Android, in 28 languages
Without the app: the web portal
Parents who do not want to install an app can see messages and the traffic light in the browser.
What parents need to use the app:
- • Center ID, under Settings > App
- • Parent password, under Settings > App
- • Link to the app in the stores
Send to parents
Pass these documents to the parents:
RecommendedTransparency information
Privacy information for the parents. Included when you use our QR-code export as a letter. This is only an example, not legal advice.
The child's QR code
Database > Children > click the entry (download). Share by email, as a PDF, laminated, as a letter or on a key fob.
Parent guide
A step-by-step guide for parents, QR code, check-in and the app.
Access to the parent app and portal, so parents can follow check-ins live:
App: Beenest for parents
Available on the App Store and Google Play, plus a poster template.
Parent portal (web)
For parents who prefer the browser.
To sign in, parents need:
Center ID, the ID of your center, and the parent-view password from step 1.1.
Optional: your own cover letter.
Further settings
In the settings you can configure your center in more detail, for example:
Holidays and closing days
Store them so they are counted correctly in the reports.
Center number
Enter the official number of your center.
Traffic-light settings (amber / red)
Set the thresholds for when the staff-ratio traffic light turns amber (warning) or red (critical).
The system
Documentation and compliance
Decide which rules you document by:
1. Settings > Region
Fill in, together with your operator, which rules you want to document by.
2. Check the default numbers
Check our default numbers for your region against your data, together with your operator, under Settings > Region.
3. Export
Set, together with your operator, under Settings > Export, what the export looks like, for example the daily report, format and required content.
Your operator sees these values on their account too.
Your local ratio rules
Beenest works with your state's licensing ratios. Under Settings > Region you pick the rules that apply to you and see the default factors, ratios and thresholds per age group. Review them with your operator so they fit your center.
Read more about documentation tiersIt looks complex, but it is simple
Do not worry, what sounds like a lot of rules is done quickly. Review your state's licensing ratios and you become a documentation pro.
Together
Where operators and centers work together
Operators and directors share the responsibility. At these points the two mesh, Beenest connects both roles in one system so nothing has to be recorded twice.
Access and option
Creates the account, confirms privacy and offer, creates the center. The director gets the email automatically.
Clicks the link in the email, sets the password and enters base data, groups and staff.
Install the tablet
Supports with hardware and mounting.
Mounts the tablet and connects the check-in app.
Choose the compliance level
Sets the documentation rules together with the center (region).
Enters the chosen rules in the settings.
Ongoing documentation
Sees all values live in the group dashboard.
Documents attendance and staffing ratio automatically.
Done!
Ready for automated operation!
Your Beenest system is ready to go.
Support
Help and support
You are never on your own. Reach out any time and we will help you get set up.
Contact usFirst day
You are live, from the next morning. Tablet at the entrance, parents scan, data lands in the dashboard automatically. No second training day needed.